
Camp
  • What I Wish I’d Known Before Tackling Skye’s Cuillin Ridge
    From route-finding and ropework to shiver bivvies and the elusive search for water, here’s what I learnt from three days on one of Britain’s most celebrated mountaineering routes.

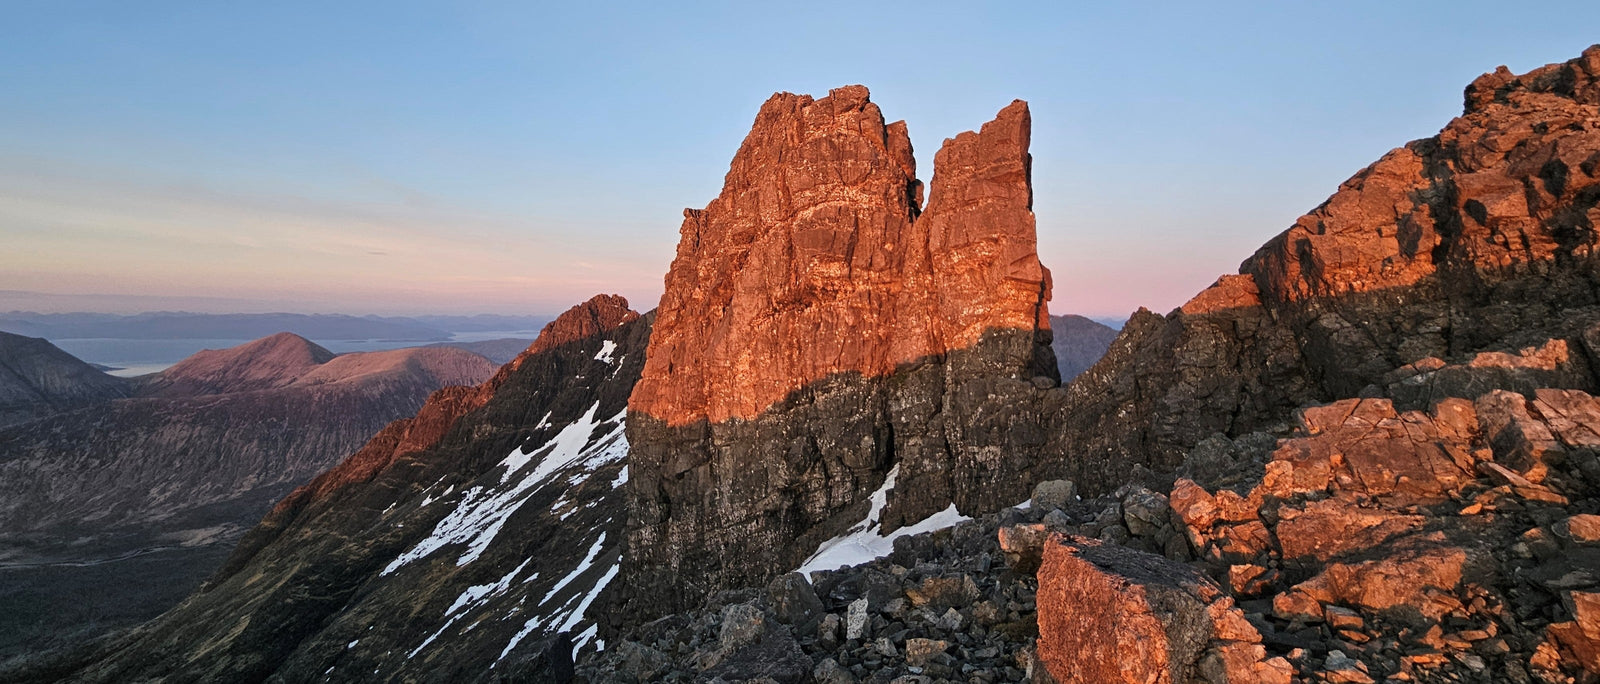
    The twin-topped rock tower of the Bhasteir Tooth glows orange-red in low light, its lower half in cool shadow, with patches of snow on the slopes below and a calm sea and distant hills fading to pink on the horizon.

    20th October 2026 | Words and photos by Aila Taylor


    It was just getting light when we set off. Purple twilight faded into pink over the calm sea, the Small Isles peeking out of the glassy water like a group of curious seals. Turning away from the islands, we began the steep ascent over loose scree, following what passed for a path – in Skye’s terms, at least.

    A sharp ridge stretched into the horizon like a long row of teeth, and for the first time since spontaneously deciding to take on the challenge a day earlier, I found myself feeling somewhat intimidated.

    Through a V-shaped gap between dark rocky slopes, a long, low island lies in a calm blue sea, with the jagged outline of a larger island beyond and a golden moorland plateau in the foreground.

    The Small Isles, peeking out of the Atlantic.


    The Cuillin Ridge on the Isle of Skye is one of Britain’s most celebrated mountaineering challenges, combining sustained scrambling with technical climbing along an exposed skyline. Often regarded as one of the finest alpine-style ridge traverses in Britain, it offers around 11 kilometres of spectacular mountain terrain. But distance alone tells you very little about what you’re letting yourself in for.

    Unlike a conventional hillwalk, the traverse involves sustained scrambling, technical climbing, abseils and some decidedly complicated route-finding. The route repeatedly sends you up one pinnacle and down the other side, only to present another tower moments later. Even experienced mountaineers can find themselves moving far more slowly than expected.

    I learnt this the hard way. What began as a spur-of-the-moment challenge became a three-day adventure involving polished rock, questionable route-finding and some rather long nights spent cradling snow in my sleeping bag.

    Here’s what I wish I’d known before setting off.

    How difficult is the Cuillin Ridge really?

    For experienced scramblers and climbers, the individual moves on the Cuillin Ridge may not be particularly difficult. Much of the route involves scrambling, interspersed with short technical climbing sections up to Severe. However, the difficulty of the traverse lies in much more than the hardest move: sustained exposure, complex route-finding, repeated ascents and descents, and the cumulative effects of fatigue all add to the challenge.

    Seen from above, a climber in a blue top, helmet and heavy rucksack with a coiled green rope scrambles on hands and feet up a steep, broken rock ridge, with a sunlit valley far below.

    Hands-on scrambling up An Stac.


    Two of the key technical climbing obstacles are the Thearlaich Dubh Gap (‘the T-D Gap’) and Naismith’s Route on the Bhasteir Tooth, both graded Severe. The T-D Gap is notorious for causing delays. Its polished rock, awkward climbing positions, boots and bulky packs can make progress frustratingly slow. We learnt the hard way that trying to haul packs up, where they get wedged beneath a bulge, is a bad idea. I therefore found myself climbing precariously with not one but two rucksacks full of bivvy kit dangling from me – an arrangement that did little to improve either my balance or my confidence.

    Naismith’s Route has a very different character. It involves less squirming about in a corner, and more climbing up an exposed face with a large drop beneath you. Despite the greater exposure, I found the climbing itself flowed much more naturally.

    Looking up a steep, angular grey rock wall under a deep blue sky, a climber in a bright green jacket and helmet moves upwards on a rope, with deep shadow across the right-hand side of the cliff.

    Squirming up the polished T-D Gap.


    A climber with a red rucksack and a yellow foam mat moves across a steep, dark rock wall high above a valley, protected by a green rope, with a pointed peak, hills and a hazy sea stretching away to the right.

    Naismith’s Route, with plenty of air beneath.


    I had been climbing for only six months when I completed the traverse, and I found the technical climbing fairly straightforward. For the ridge as a whole, good scrambling skills, confident movement over complex terrain and strong route-finding are at least as important as technical climbing ability. Having climbed the ridge towards the end of the winter climbing season I was also grateful for the recent practice I’d had with efficient ropework. Time spent organising ropes and equipment adds up quickly, so it’s important to be proficient at transitioning between appropriate techniques, whether that’s pitching, simul-climbing, moving together or soloing. Efficient ropework can save considerable time over the length of the ridge.

    Unexpectedly, I found myself extremely grateful for my caving expedition experience on the ridge too. Although the environment was completely different, the underlying challenges felt familiar: continuing when exhausted, managing discomfort and staying calm when things weren’t going to plan.

    Seen from below against a cloudless deep blue sky, a climber in a blue top, with a red rucksack, rolled yellow mat and kit hanging from the harness, climbs a natural staircase of stepped, layered rock between large grey boulders.

    Scrambling up a natural staircase formed by a basalt dyke.


    Preparation and planning

    Neither my climbing partner nor I had been to the Cuillin before attempting the traverse. When an unusually good weather window appeared, we decided to seize it. Despite consulting the guidebook religiously, we made several route-finding errors that cost us valuable time. We went back-and-forth a comedic number of times while trying to find the descent from Bidein, which our guidebook described as ‘the most complicated and least obvious of the whole ridge’. I visited an eclectic selection of steep cliffs and sharp aretes before finding the abseil point that we were looking for.

    Seen from below against a deep blue sky, a climber with a red rucksack and rolled yellow mat abseils down a steep, dark rock face on a green rope, with a rocky pinnacle at the right edge of the frame.

    Abseiling into a bealach.


    Compare several mountain weather forecasts and, where possible, different forecast models. Plan to finish well before the favourable weather window is expected to close, leaving a buffer for delays, slower-than-expected progress or a change of plan. Build flexibility into your schedule by making sure your food, fuel and overnight equipment reflect the possibility of spending longer up there than planned.

    Good planning means preparing not only for the ideal scenario, but also for the possibility that things go wrong. Consider:

    • Bringing a Personal Locator Beacon (PLB) or another suitable emergency communication device; mobile reception cannot be relied upon.
    • Leave a detailed call-out with a trusted person, including your intended route, expected timings and what they should do if you fail to check in.
    • Carry a first-aid kit and spare warm clothing for delays, deteriorating weather or an unplanned overnight stay.
    • Familiarise yourself with escape routes before setting off, remembering that some sections offer few straightforward options for bailing.

    It is possible to complete the ridge on a first attempt, as we did. However, only 5% of first timers, who haven’t been to the ridge before, complete the full traverse on their first attempt. Your chance of success will increase if you have time to familiarise yourself with the route first. Where practical, recceing major obstacles such as the T-D Gap and familiarising yourself with the route-finding in the latter half of the ridge can save valuable time during the traverse.

    Route-finding

    Despite its name, the Cuillin Ridge is far from a straightforward line along a crest. There is rarely a continuous path to follow, and the easiest line can be far from obvious. You can spend several minutes following what looks like a promising line, only to find out you’ve been following a convenient arrangement of rocks rather than an actual route.

    For anyone unfamiliar with the route, navigating the ridge by map alone would be extremely challenging. The amount of detail required means that most people use a guidebook with annotated photographs and written descriptions to navigate. Adrian Trendall’s Skye Munros guidebook provides detailed route descriptions and annotated photographs. Its two-volume format separates broader planning advice from a lightweight guide designed to be carried on the ridge. A map can still be helpful for finding water sources and for the approach/descent, but compasses can be unreliable on the Cuillin due to magnetic anomalies in the rock.

    In warm evening light, a climber in a green jacket and yellow-and-blue hat sits in a low stone-walled hollow beside a red sleeping bag on a mat, with a rope, helmet and neatly piled kit on the rocks to the left and the sea beyond the ridge.

    Consulting the guidebook, religiously.


    How many days does it take?

    The Cuillin Ridge is commonly traversed in one long day or over two days, with a bivouac along the way.

    A one-day traverse allows you to travel lighter, which makes a considerable difference when you’re repeatedly climbing and descending pinnacles. It’s most suitable for parties who can move efficiently and know the route well. The trade-off is time: you may feel pressured to keep moving and bypass some of the classic climbs rather than stop to enjoy them. Depending on the season, conditions and pace, you could also find yourself navigating technical terrain in the dark.

    A two-day traverse offers more flexibility, giving you time to stop, appreciate the scenery and bivvy along the ridge rather than treating every pause as a delay. Bivvy circles are plentiful, dotted along the ridge at regular intervals with many scenic options for a night in solitude. The drawback is the extra weight: food, fuel and sleeping equipment all add to the load you’ll be carrying over every climb and descent.

    From inside a red bivvy bag, the view looks across a crust of frozen snow to a dark, snow-streaked peak silhouetted against a band of orange and yellow sunset, with a calm sea and distant coastline to the right.

    A stone-walled bivvy circle on the first night.


    Before our attempt, I spoke to several people whose traverses had ended in an early descent, asking what had gone wrong. Several told me they’d planned a two-day traverse but ran out of time on the second day, forcing them to descend before completing the ridge. Knowing that neither Josh nor I had been to the Cuillin before, we brought extra food and fuel for a third night ‘just in case’ we needed it.

    Towards the end of our second day, we approached the Bhasteir Tooth, where Naismith’s Route presents one of the ridge’s key technical climbing sections. The sun was sinking towards the horizon. Continuing would mean a late finish in the dark.

    ‘To be honest, I’m not ready to go down yet anyway,’ I admitted. ‘It’s so peaceful up here.’

    We made the decision to bivvy for a second night. The sky glowed red as the sun set over the Atlantic once again, painting snow-sprinkled peaks in pink. I was getting used to my only company being Josh, the gentle breeze, and the mountains curving around us, and I wasn’t quite ready to give it up yet. For first-timers who don’t know the route and have stable weather conditions, a second night can maximise the amount of enjoyment you get from the ridge.

    A tiny climber in a lime-green jacket and white helmet stands on a rocky ledge at the bottom of the frame, looking up a huge sunlit buttress of the Cuillin, with snow patches on the ridge, a pale scree gully to the right and a blue sea loch and mountains beyond.

    Night two: bivvying in the snow as the sun goes down.


    Seasonal differences

    Summer is the most popular time to attempt it due to longer daylight hours and better likelihood of good weather, but this does mean that the ridge gets a lot busier. Queues can develop at popular bottlenecks, and the best bivvy sites may already be occupied. On still evenings, midges can add another distinctly Scottish dimension to the experience.

    I traversed the ridge in mid-April, and we were fortunate to have near-ideal conditions. The weather was warm without becoming uncomfortable, the daylight was sufficient for our plans, and we had the ridge almost entirely to ourselves until the final section. Water can be scarce on the ridge, but in April we found snow patches in corries to use as a source of meltwater. Autumn can offer similarly beautiful, quieter days, although without dependable snow patches, water planning may require more care.

    A tiny climber in a lime-green jacket and white helmet stands on a rocky ledge at the bottom of the frame, looking up a huge sunlit buttress of the Cuillin, with snow patches on the ridge, a pale scree gully to the right and a blue sea loch and mountains beyond.

    Mid-April, and the ridge to ourselves.


    The Cuillin Ridge in winter is a different beast. Conditions can vary enormously, from deep fresh snow to thin, slippery verglas coating the rock. With sufficient snow cover, some difficult moves may become banked out, while other sections can become significantly harder when iced up. In summer, the traditional direction is south to north, taking in the classic climbing sections along the ridge. Winter traverses are often undertaken in the opposite direction, from north to south, which can allow some of the harder sections to be abseiled rather than climbed. The Scottish Mountaineering Club guide suggests a Scottish winter grade of IV overall. Much of the ridge is grade II/III terrain with a few pitches around IV. The TD gap exit is the hardest obstacle at IV 6. It’s worth remembering that when sub-optimum conditions such as high winds are thrown into the mix, the difficulty of the ridge can escalate dramatically. Admittedly a lot of the obstacles can be bypassed, but even the bypasses can be much harder in winter conditions. Routes that are a quick trot down scree slopes in summer can become steep banks of hard névé in winter. Practicing other ridge traverses in winter conditions, such as An Teallach, Liathach and Tower Ridge, or even a shorter section of the Cuillin Ridge itself, will help to build confidence before a full winter traverse.

    Kit

    Packing for the Cuillin Ridge is an exercise in compromise: carry everything you might need for a night in the mountains, but remember that every extra gram will be hanging off your shoulders for hours of scrambling, climbing and abseiling.

    At dusk, a string of warm yellow fairy lights outlines a small rock bivvy site with a red sleeping bag and orange mat, beneath the black silhouette of a pointed peak, with a faint orange glow on the horizon and the sea below.

    Repacking mid-ridge: every gram counts.


    My (non-exhaustive) kit list for our three-day traverse was:

    • Adrian Trendall’s Skye Munros guidebook
    • Harvey map (1:25,000)
    • Personal Locator Beacon
    • Rucksack (30–40 litre)
    • Foam sleeping mat
    • Bivvi bag
    • Sleeping bag
    • Stove and fuel (I used a solid-fuel FireDragon due to it being so light and compact)
    • Food and snacks – take these out of wrappers and collate into zip-lock bags to save space.
    • Mug, spoon, and lighter (and in our case, an AeroPress)
    • Approach shoes
    • Softshell trousers
    • Baselayer top
    • Grid fleece
    • Synthetic insulated jacket
    • Hat, gloves and buff
    • Thin socks for the daytime, and a pair of thicker socks to wear at night
    • Waterproof jacket and trousers
    • Sunglasses
    • Cap
    • Suncream
    • Water bottles – tailor capacity to suit conditions
    • Head torch + spare battery
    • First aid kit
    • Toilet kit (including zip-lock bags, toilet paper, a trowel and hand sanitiser)
    • A range of nuts, a couple of offsets and an ‘emotional support’ cam
    • Helmet
    • Belay device
    • 40m climbing rope
    • 5 Alpine draws
    • 4 screwgates, 2 slings, prusiks and spare tat for abseil anchors
    • Climbing harness

    In winter, this list will look very different and may include the addition of much warmer clothing, additional shelter, ice axes and crampons.

    A walker in an orange cap, with a red rucksack, yellow mat and green rope strapped on, stands beside a still mountain loch reflecting blue sky, with smooth dark rock slabs on the left and a craggy cliff rising to the right.

    Fairy lights optional. They aren’t usually on a climbing kit list…


    Water

    Water sources are limited along the ridge. Trendall’s guidebook marks several springs, but reaching them can mean dropping off the crest and adding time to an already demanding day. We started with two litres of water each and topped up our bottles with snow throughout the day, giving it time to melt as we moved. If snow remains on the ridge, you can melt it for water while cooking, but we underestimated how long this would take and how much fuel it would consume. By the second night, we had barely enough fuel left to cook dinner. Instead of melting snow, I packed as much as I could into my water bottles and tucked them against my chest, hoping my body heat would do the work overnight. It was a fairly ridiculous arrangement, given that we were already bivvying in a hole in a giant snow patch. Still, I woke up to a refreshing drink in the morning!

    Approach options

    There are three main approaches to the ridge:

    1. From Glen Brittle via Coir’ a’ Ghrunnda

    This is the easiest approach to follow, especially in the dark, since it is the only one that follows a mapped path. Its main weakness is that it ascends to Bealach a’ Garbh-choire, which is part way along the ridge rather than at the start. This means going back to Gars-bheinn, and returning the same way, to tick off the full ridge. For those planning an overnight with food and bivvy kit, dropping packs at the bealach and running back may still be a quicker option.

    Bright yellow gorse fills the left of the frame in warm evening light, with heather moor and a path stretching to the right and the jagged, snow-flecked peaks of the Black Cuillin beneath a clear blue sky.

    Pausing at Loch Coir’ a’ Ghrunnda on the approach.


    2. From Glen Brittle via Gars-bheinn

    This has the same start point as option 1, but instead tracks directly up the side of Gars-bheinn. It is the most direct approach, but (apparently) a bit of a slog.

    3. From Loch Coruisk

    The approach from Loch Coruisk is the longest, but arguably the most scenic. It involves taking a boat from Elgol, then arranging transport back from Sligachan after the traverse – either with a car shuttle or by hitch-hiking.

    We chose the second option because we felt it would be straightforward to navigate. With fresh legs and the day still ahead of us, the run to Gars-bheinn and back felt easy.

    Descent options

    Reaching Sgurr nan Gillean marks the end of the traverse, but you still have to get off the mountain. The two main descent options both involve negotiating steep terrain before returning towards Sligachan.

    1. West Ridge

    This involves retracing your steps to the bealach beside Am Bhasteir, then descending scree to pick up the path back towards Sligachan.

    2. South-east Ridge

    Alternatively, the South-east Ridge provides a different descent line, eventually leading down scree towards the valley. As Trendall points out, it has one ‘major psychological disadvantage’: it initially takes you away from the pub!

    For those seeking a more technical finish, Pinnacle Ridge is another possibility, although the downclimbing is graded Difficult. It adds a significant climbing challenge at the end of an already demanding traverse, so it is best treated as a deliberate route choice rather than an easy alternative descent.

    I had the bright idea of leaving my van at Sligachan, but the less-bright idea of leaving its keys in Josh’s van in Glen Brittle, making our plan to shuttle between them redundant. Few things have been more frustrating than finishing the ridge, exhausted, and finding my bed parked a metre away from me – with no way of getting into it. This gave us an opportunity to experience Skye’s hitch-hiking system. Luckily, the number of visitors heading to the fairy pools in Glen Brittle means your chance of catching a lift is high in the daytime. As a first resort, however, I would recommend keeping track of your car keys.

    Bright yellow gorse fills the left of the frame in warm evening light, with heather moor and a path stretching to the right and the jagged, snow-flecked peaks of the Black Cuillin beneath a clear blue sky.

    Gorse in bloom, with the Black Cuillin behind.


    Final thoughts

    The Cuillin Ridge is more than a line on a map. It is a route that strips the experience of mountaineering back to its essentials, from the next handhold to the person beside you. Time seems to flow differently there, when every footstep requires deep concentration and you’re moving from sunrise to sunset. Despite how exhausting it can be, the ridge is also a place of extraordinary beauty. The Cuillins lord over the Atlantic in a legion of cliffs, turrets and spires, making space for crystal waters and arctic-alpine flowers to bloom. I wasn’t only there to complete the ridge, but to experience it. Long after my scrapes healed and aching muscles recovered, it was those aspects of the ridge that I remembered most: the silence of a high bivvy, the sun setting over the sea, and the sense of peace that comes with being somewhere so wild that, for a little while, nothing else matters.

    A lone climber in a helmet and red rucksack with a yellow mat walks along a rocky ridge in golden evening light, snow patches glowing pink on the slopes beside them, with Cuillin pinnacles ahead and layers of hills and calm sea stretching to the horizon.

    Alpenglow on the ridge, with the Cuillins lording it over the Atlantic.


    Aila (formerly Anna) Taylor is an outdoor writer and mountain activist. She has previously published in the Guardian, The Independent, Vice and i-D magazines, amongst others. As an avid caver, hiker and cold-water swimmer, Aila is passionate about improving accessibility to the outdoors in addition to spreading awareness about the threats currently facing mountain regions.

    Instagram Website

    Voir l'article entier

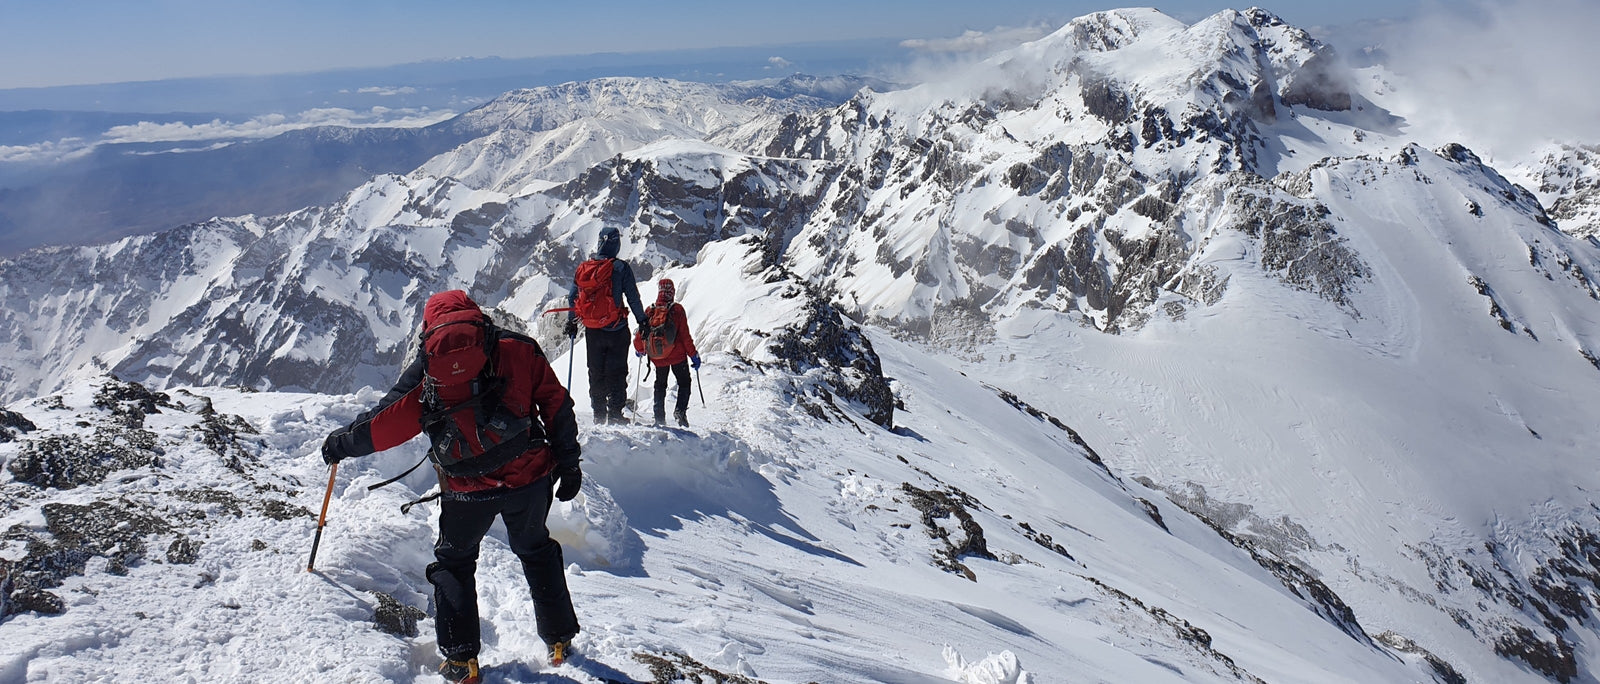
    Mount Toubkal, the highest peak in North Africa, is booming as an adventure destination. Here’s what a winter ascent via Ikhibi Sud is really like – and what the boom means for the High Atlas.
    Climbing Toubkal in Winter: North Africa’s Highest Peak

    Mount Toubkal, the highest peak in North Africa, is booming as an adventure destination. Here’s what a winter ascent via Ikhibi Sud is really like – and what the boom means for the High Atlas.

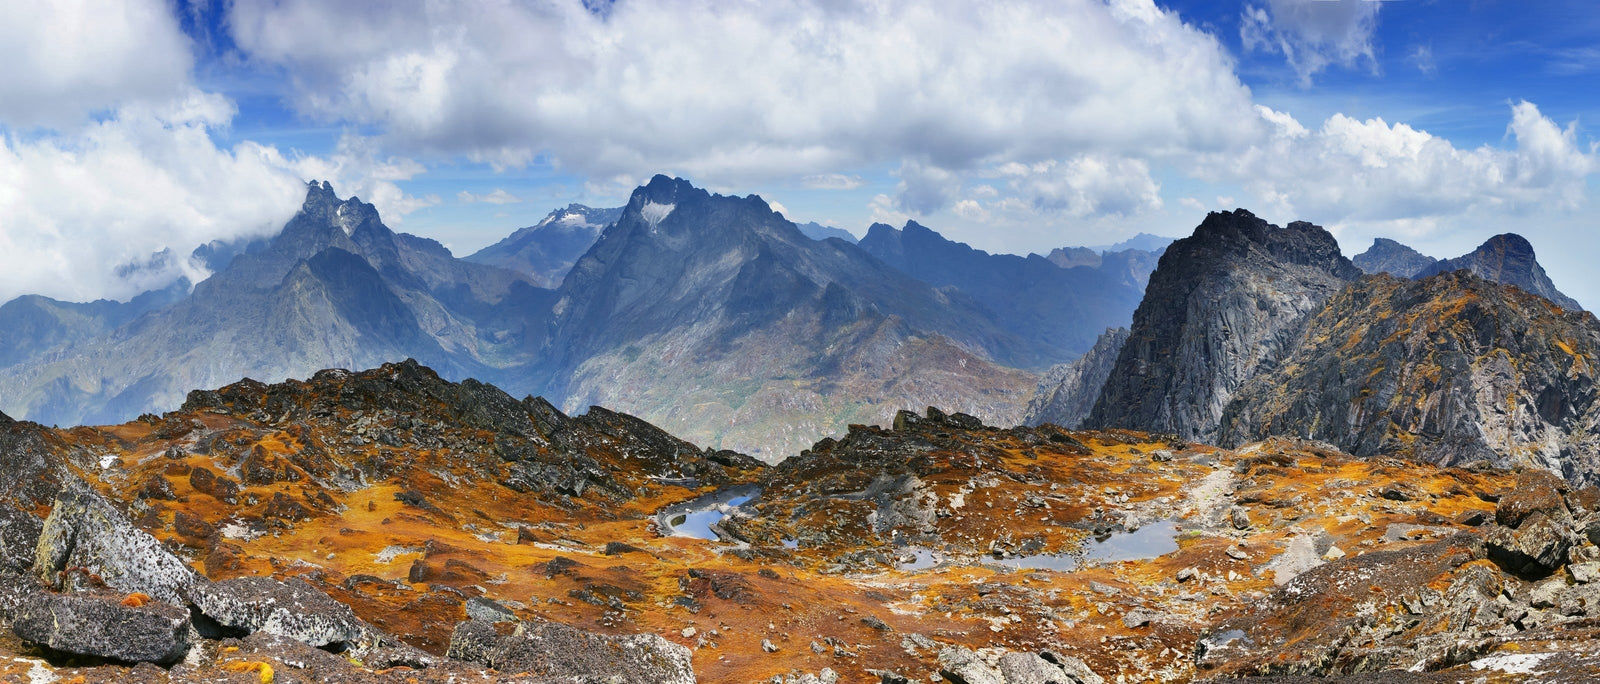
    7 Under the Radar Hikes and Treks
    7 randonnées et treks méconnus

    Pas de réseau, pas de foule, et parfois même pas de guide touristique. Juste sept sentiers hors des sentiers battus à ajouter à votre liste de choses à faire avant de mourir : des lacs salés lunaires du Tadjikistan aux sommets sculptés par les glaciers en Ouganda.

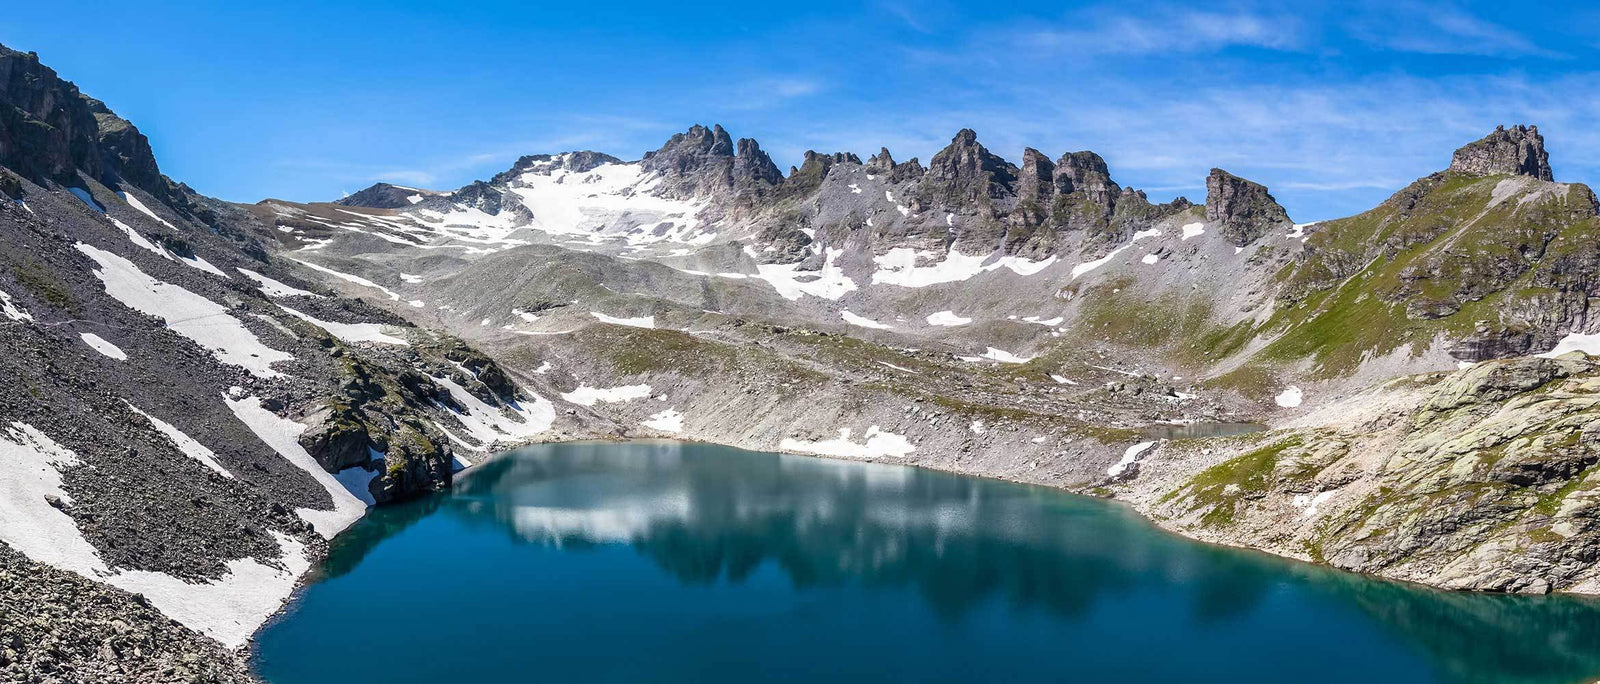
    5 Seen Wanderung - Switzerland's Five Lake Hike | WildBounds
    Guide du marcheur pour la randonnée des cinq lacs en Suisse

    En visitant cinq lacs alpins cristallins et en offrant une vue imprenable sur les Alpes suisses, le 5 Seen Wanderung, ou randonnée des cinq lacs, est l'un des circuits de montagne les plus classiques de Suisse